|
|
||||
LESSON 3
|
||||
|
This lesson shows how to
take, upload, adjust, |
||||
|
** Images are thumbnails for loading speed. Because of this they may appear blurry. Please just click on a picture to see a larger and clearer image |
||||
|
|
||||
| Taking a Digital Photo | ||||
| Turn the camera into the on position, point at desired subject, depress the shutter button. |
|
|||
| Back to Top | ||||
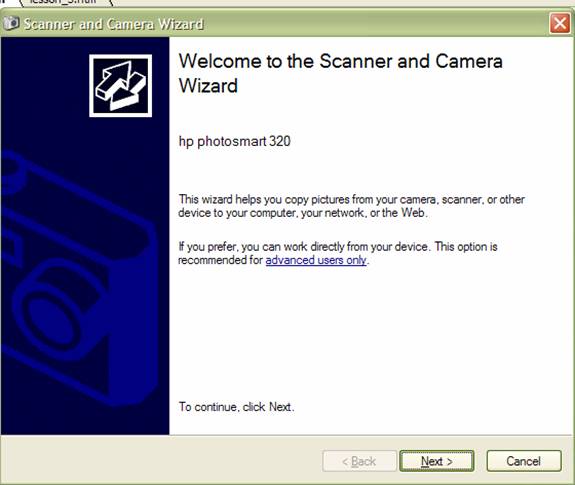
| Uploading the picture: | ||||
| Plug the camera into the computer with a USB cable. Follow the instructions on the Camera Wizard screen. When it is finished select finish. |
|
|||
| Back to Top | ||||
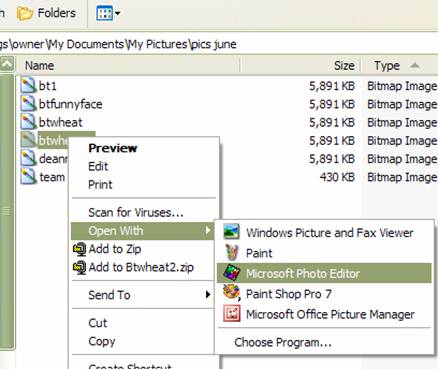
| Adjusting Brightness: | ||||
| Right Click on your image from the camera. Select "Open with" and then "Microsoft Photo Editor" |
|
|||
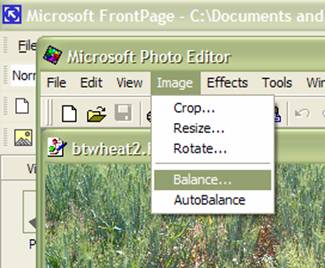
| Select "image" then "balance" |
|
|||
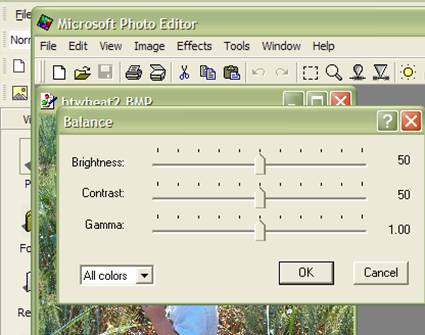
| Make desired changes then save image. |
|
|||
| Back to Top | ||||
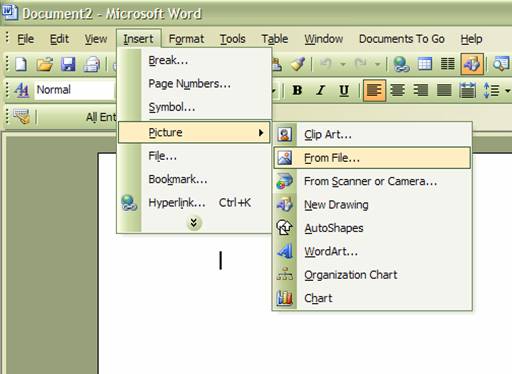
| Inserting into Word | ||||
| Open up Microsoft Word. Select the "Insert" menu, then "Picture", then "From File" |
|
|||
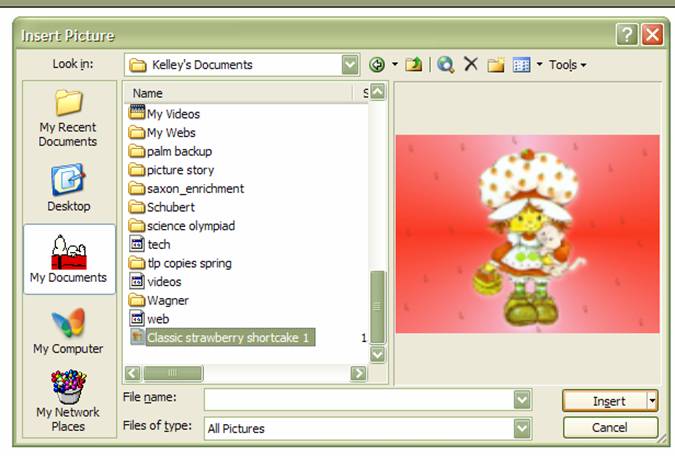
| Select your image and then click on "Insert" |
|
|||
| Back to Top | ||||
|
Back to the MAIN PAGE |
||||
|
|
Lessons:
|
||||||||||
|
|
|||||||||||