![]()
LESSON 3
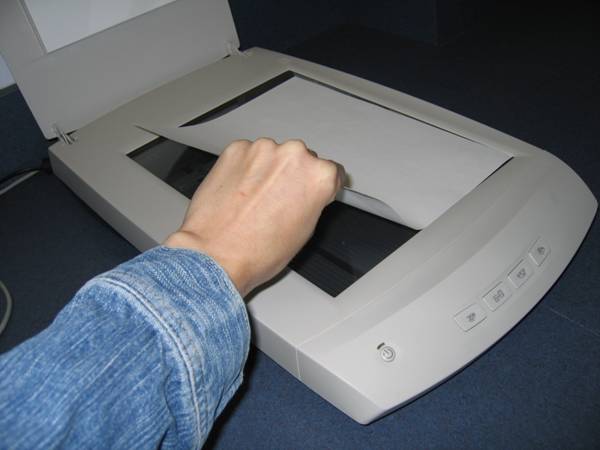
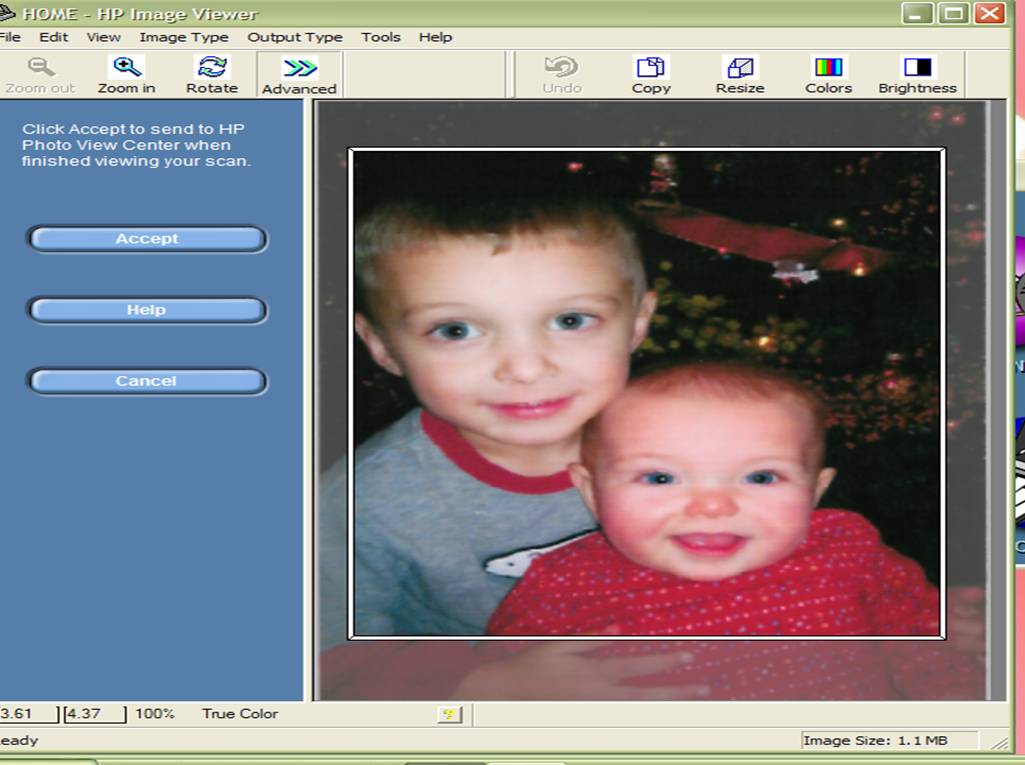
Scanning Pictures
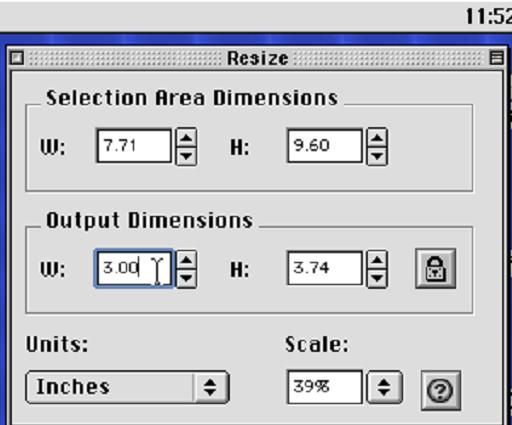
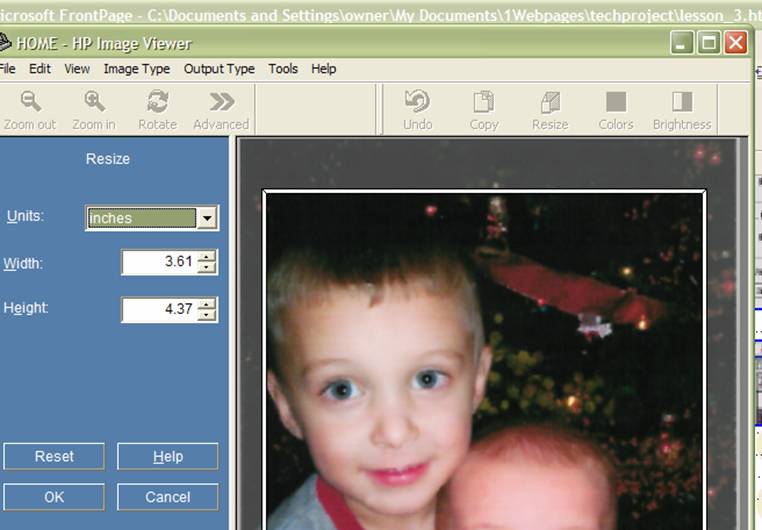
This lesson shows how to scan, crop, resize
and
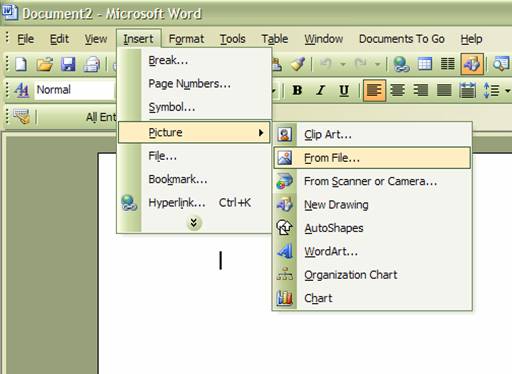
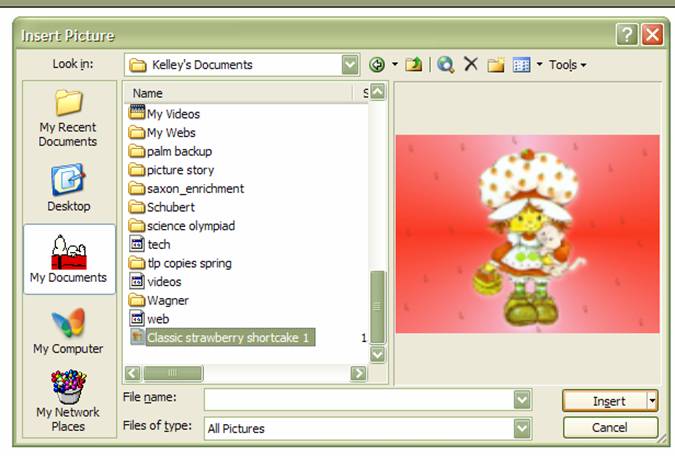
insert the scanned picture into Microsoft Word
** Images are thumbnails for loading speed. Because of this they may appear blurry. Please just click on a picture to see a larger and clearer image

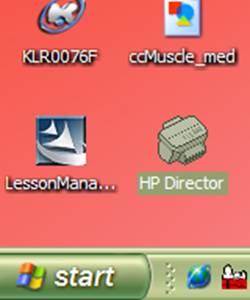
PC Screens
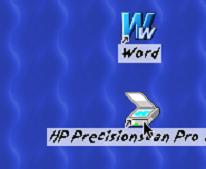
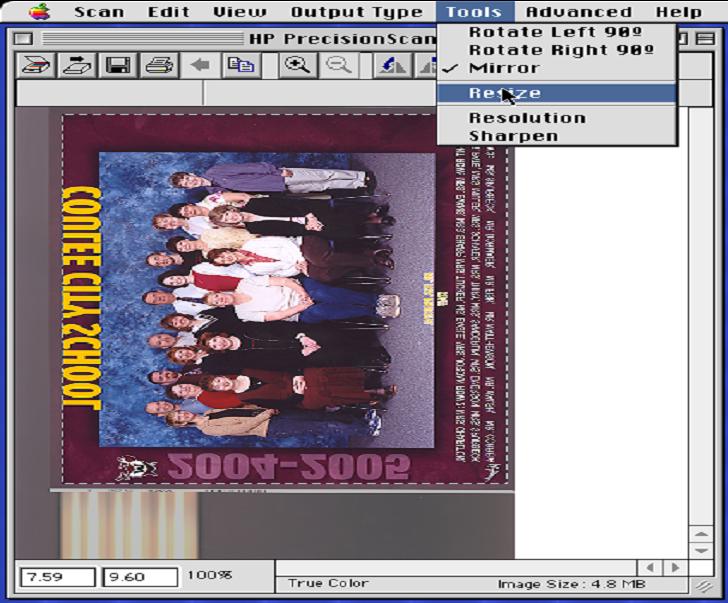
MAC Screens
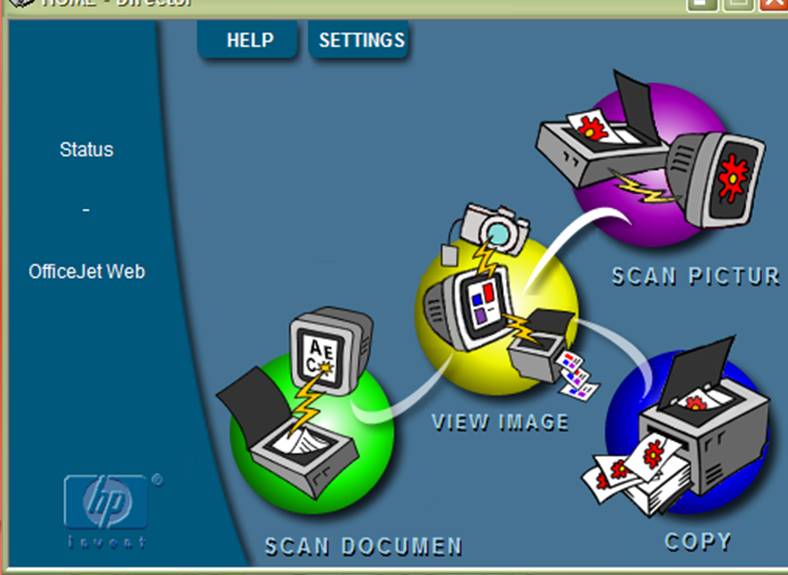
Select the "HP Precision" Icon on the Mac
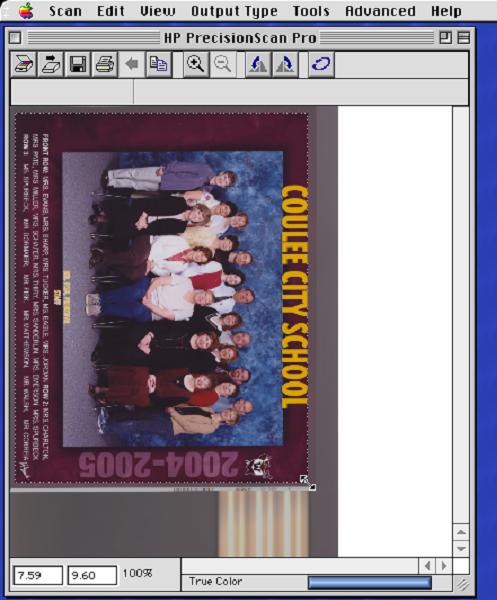
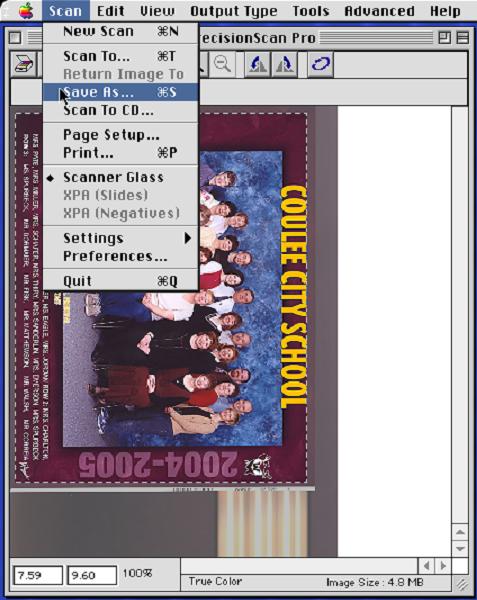
Or under the Scan menu at the top Select "New Scan" on the Mac

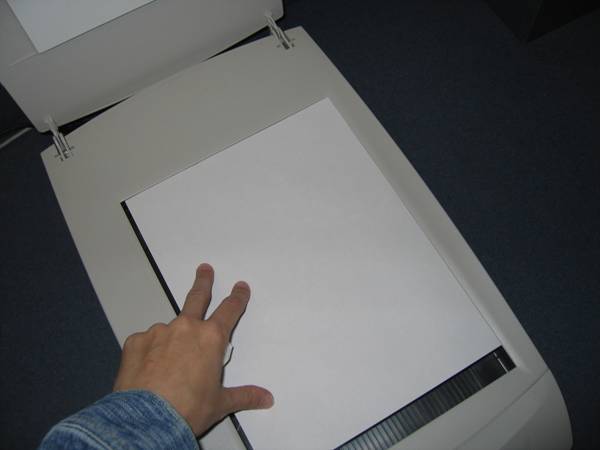
Just press the "Start Scan" button on the scanner.

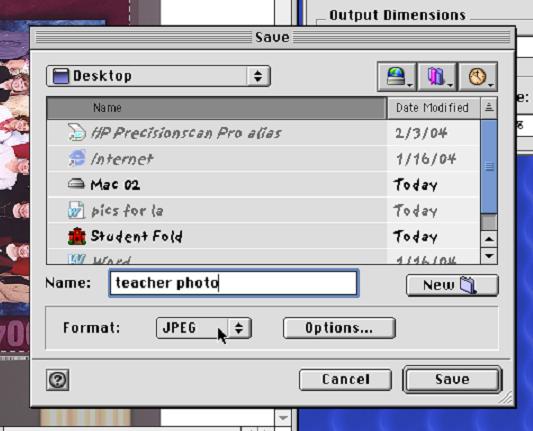
You can also change what type of format you want your picture to be on the save screen as well. Go to "format" and select from the different image types.
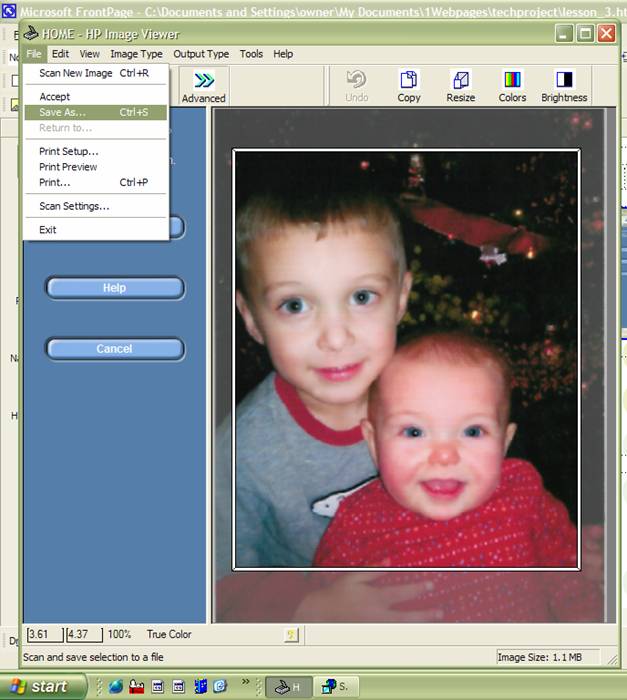
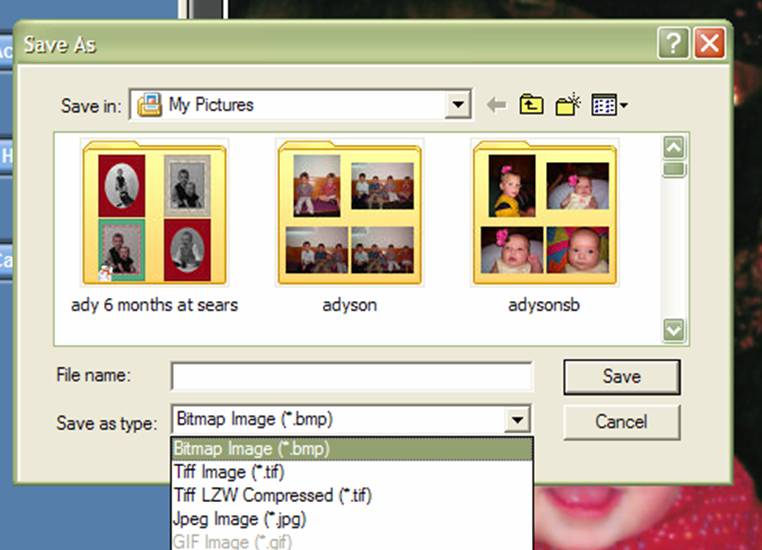
You can also change what type of format you want your picture to be on the save screen as well. Go to "save as type" and select from the different image types.

![]()
![]() Content
& Ideas ©Kelley Schafer 2005
Content
& Ideas ©Kelley Schafer 2005
![]() Images
& Layout Idea from the free blog templates at blogger.com
Images
& Layout Idea from the free blog templates at blogger.com
Lessons:
|
|
Lesson 1 - Review of Printers, Scanners, Cameras, and AR Login/Reports |
|
|
Lesson 2 - Two common Printing errors |
|
|
Lesson 3 - Scanning |
|
|
Lesson 4 - Digital Camera |
|
|
Lesson 5 - Accelerated Reader |